Showing posts with label Tutorial. Show all posts

Tuesday, January 4, 2011

Borax Crystal Snowflake Tutorial


I've had a few requests to share how to make these borax crystal snowflakes, so I thought I would share a quick tutorial.  These are really fun and easy and if you are anything like me they will leave you thinking, hmm what else can I crystallize.

For this project you will need to gather up the following:

pipe cleaners
borax (found in the laundry aisle of the grocery store) 
food coloring
glass jars
string
chopsticks or pencils
boiling water


Bend your pipe cleaners into any shape you would like.  We went with some more free form flakes, but you can achieve a very authentic look by using multiple pipe cleaners.  You are only limited by the size of the jar you are using. 
Once you are done bending tie some string to your creation and suspend it in the jar by tying the other end of your string to the chop stick or pencil.  Make sure your pipe cleaner isn't touching the side or the bottom of you jar.
Next, you will mix two cups of boiling water, six tablespoons of borax and two drops of food coloring together.  Pour this mixture into the jar and let set overnight.  In the morning your snowflakes will have crystallized and are ready to enjoy.
 

And, just like.. 

in nature...


no two flakes...


are identical.

Thursday, October 7, 2010

Salt Dough Ghost Tutorial


You can never go wrong with salt dough crafts. Easiest for even the youngest crafter and still entertaining for the oldest. 
In fact, Little Girl's ghosts turned out the best. 

To start you will mix:

One Cup Flour
One Cup Salt
One Half Cup Water


Mix with a wooden spoon until you have combined. 
Then slowly add approximately One Quarter Cup Flour until firm.


Divide dough into six equal globs. 
Then have fun shaping into ghost shapes.

When done, place two ghosts on a plate and microwave at thirty second intervals until firm.  About two-and-one-half minutes.


After the ghosties cool, add faces or other embellishments.
So easy and so fun.

See the sad one that fell over?
That one was mine.
Boo.


Tuesday, April 6, 2010

D-Ring Belt Tutorial


Purchase a length of belting and two D-rings.  I took my waist measurement and added a 1/2 yard to determine the length of belting I wanted.  My belting was one inch in width and the D-rings were 1 inch rings.


Thread one end of the belting through the D-rings and pull through about an inch-and-a-half of belting.


Stitch the belting to itself as close to the D-rings as possible.  I stiched up and down and few times for reinforcement.


Put on your belt and determine your finished length.  Cut the belting.  Fold the unfinished end under itself and box stitch to finish.


That's all there is to it.  For a fun look you could stitch ribbon or fabric onto the belting.  The possibilities are endless.

Thursday, April 1, 2010

Melted Crayon Block Tutorial


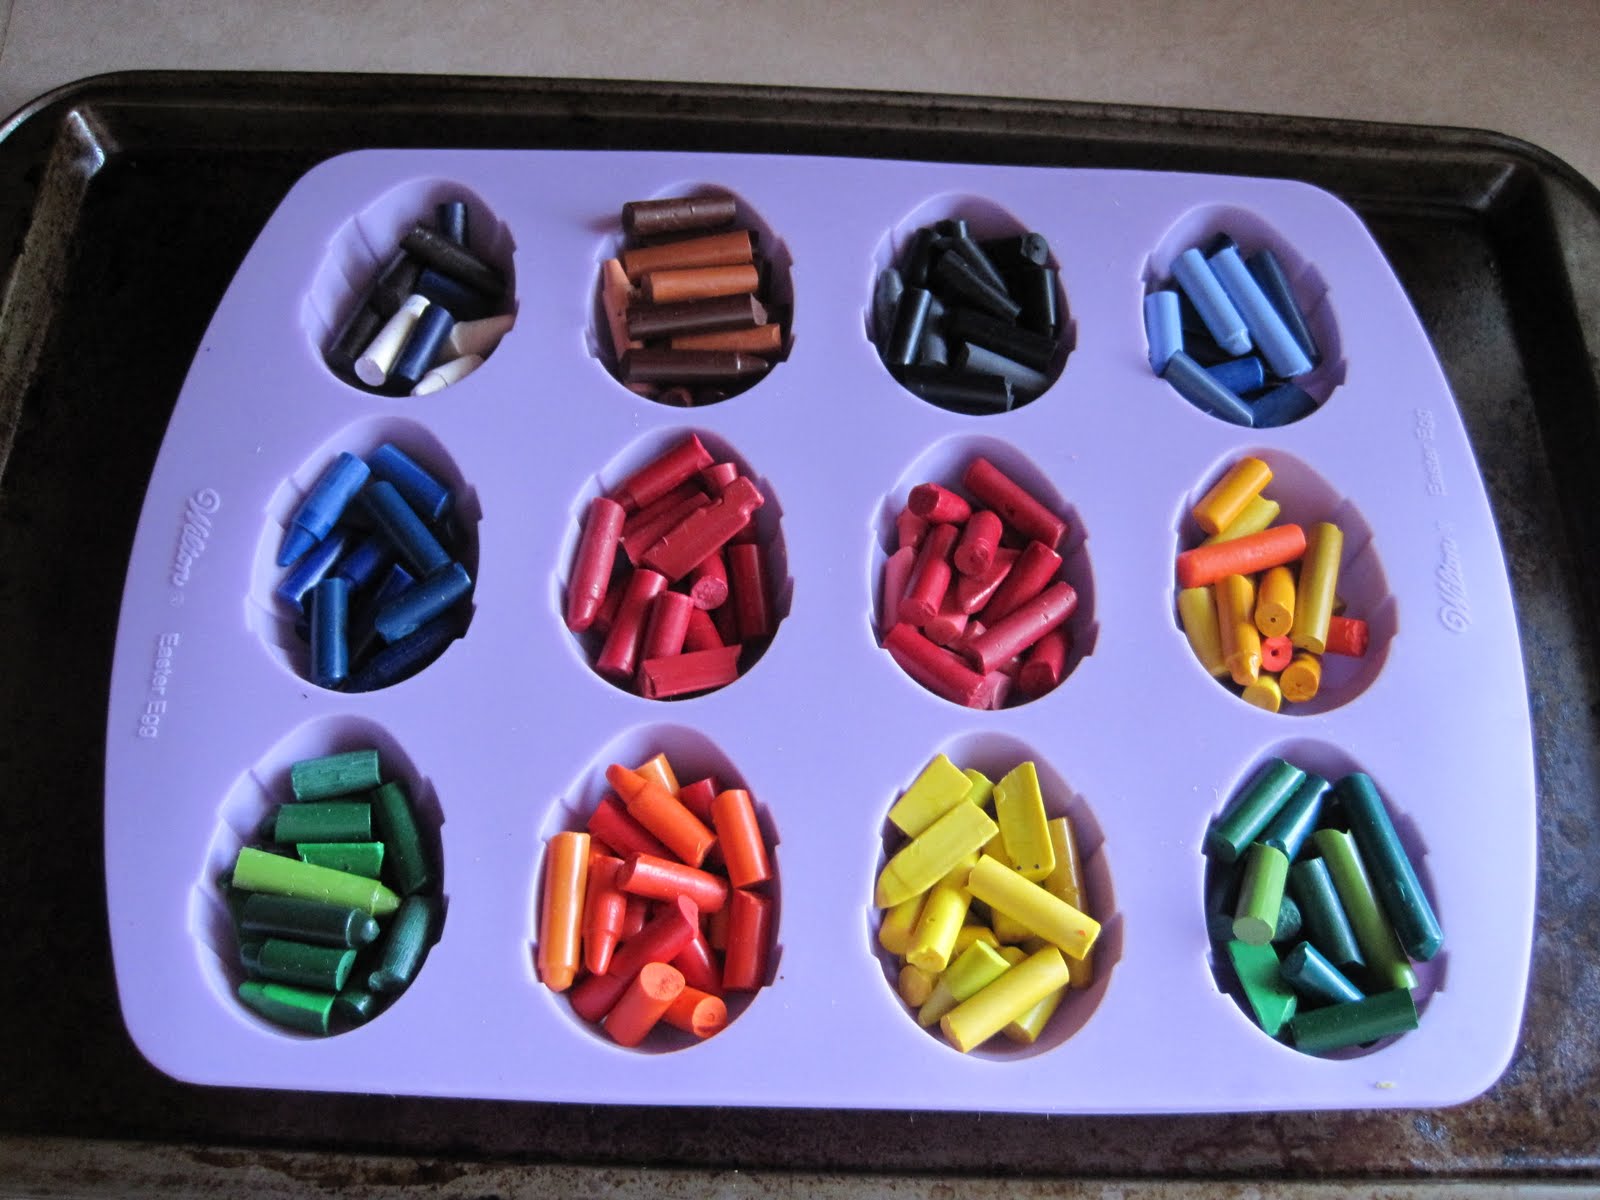
Step One:
Find all broken crayons and remove paper. Break crayons into small pieces. Thanks to Little Girl, I had so many pieces this took me over a half hour to accomplishment.


Step Two:
Find a mold or muffin tin to melt the crayons in. Be forewarned that the crayons will stain silicon molds.

Step Three:
Bake in a 250 degree oven for approximately 30 minutes. This time can vary depending on your oven, mold, and the amount of crayon bits uses. Check often.


Step Four:
When they are all melted pull them out of the oven and let them set.


Step Five:
 Don’t touch until done. See that black crayon? That’s what happens when you pop them out to early.

Step Six:
 Pop them out and enjoy!